Long-Distance Cycling: Three Helpful Tips Before You Go
 Nothing feels more rewarding than pushing your body to the limit and navigating down a winding mountain path or cruising down the open highway on your bike. You’ve been training for a while, and now you’re thinking about taking things to the next level—your first long-distance trip. Centuries—or 100-mile treks—are considered a milestone for serious cyclists. If you are ready to take the plunge and dedicate yourself to completing your first century, or just spend the weekend out on the trails, then here are some tips to make sure your ride is a successful one.
Training Your Body and Your Mind
When you prepare for your first long-distance trek, you will need to hone both body and mind to work together in tandem. This means setting a date for your ride months in advance and giving yourself time to train for the moment. Setting off tomorrow with little to no prior training is a foolish idea. Even if you are in peak physical shape, you will need to prepare your body as well as your mind for a long-distance bike ride. Most training programs will have you begin your training 6-8 weeks before your trip. The kind of physical exercises your training demands will depend on the nature of your trip. If you’re looking to go off road in mountainous terrain, your training will demand a different level of exertion than cruising on pavement. Complete some practice runs in areas with similar terrain to the area you will be riding so you can address any issues or challenges now while you are closer to home. Either way, you will be expected to gradually increase your distance until you reach 60-80 percent of your target distance.
These programs will not only get your body in shape to handle the distance, but also prepare you mentally for the challenges that come standard in a long-distance trek. Subjecting your body to physical exertion over a long period of time will demand mental toughness. Gradually upping your distance will condition your mind for the ride and prepare you for the natural and physical obstacles you face along the way. No matter how tough you are mentally, sometimes you hit a mental roadblock, so come up with a powerful mantra to repeat to yourself when you hit a particularly difficult stretch of your ride. You might also find it helpful to focus on small milestones, such as making it to that next tree, to keep you pedaling forward.
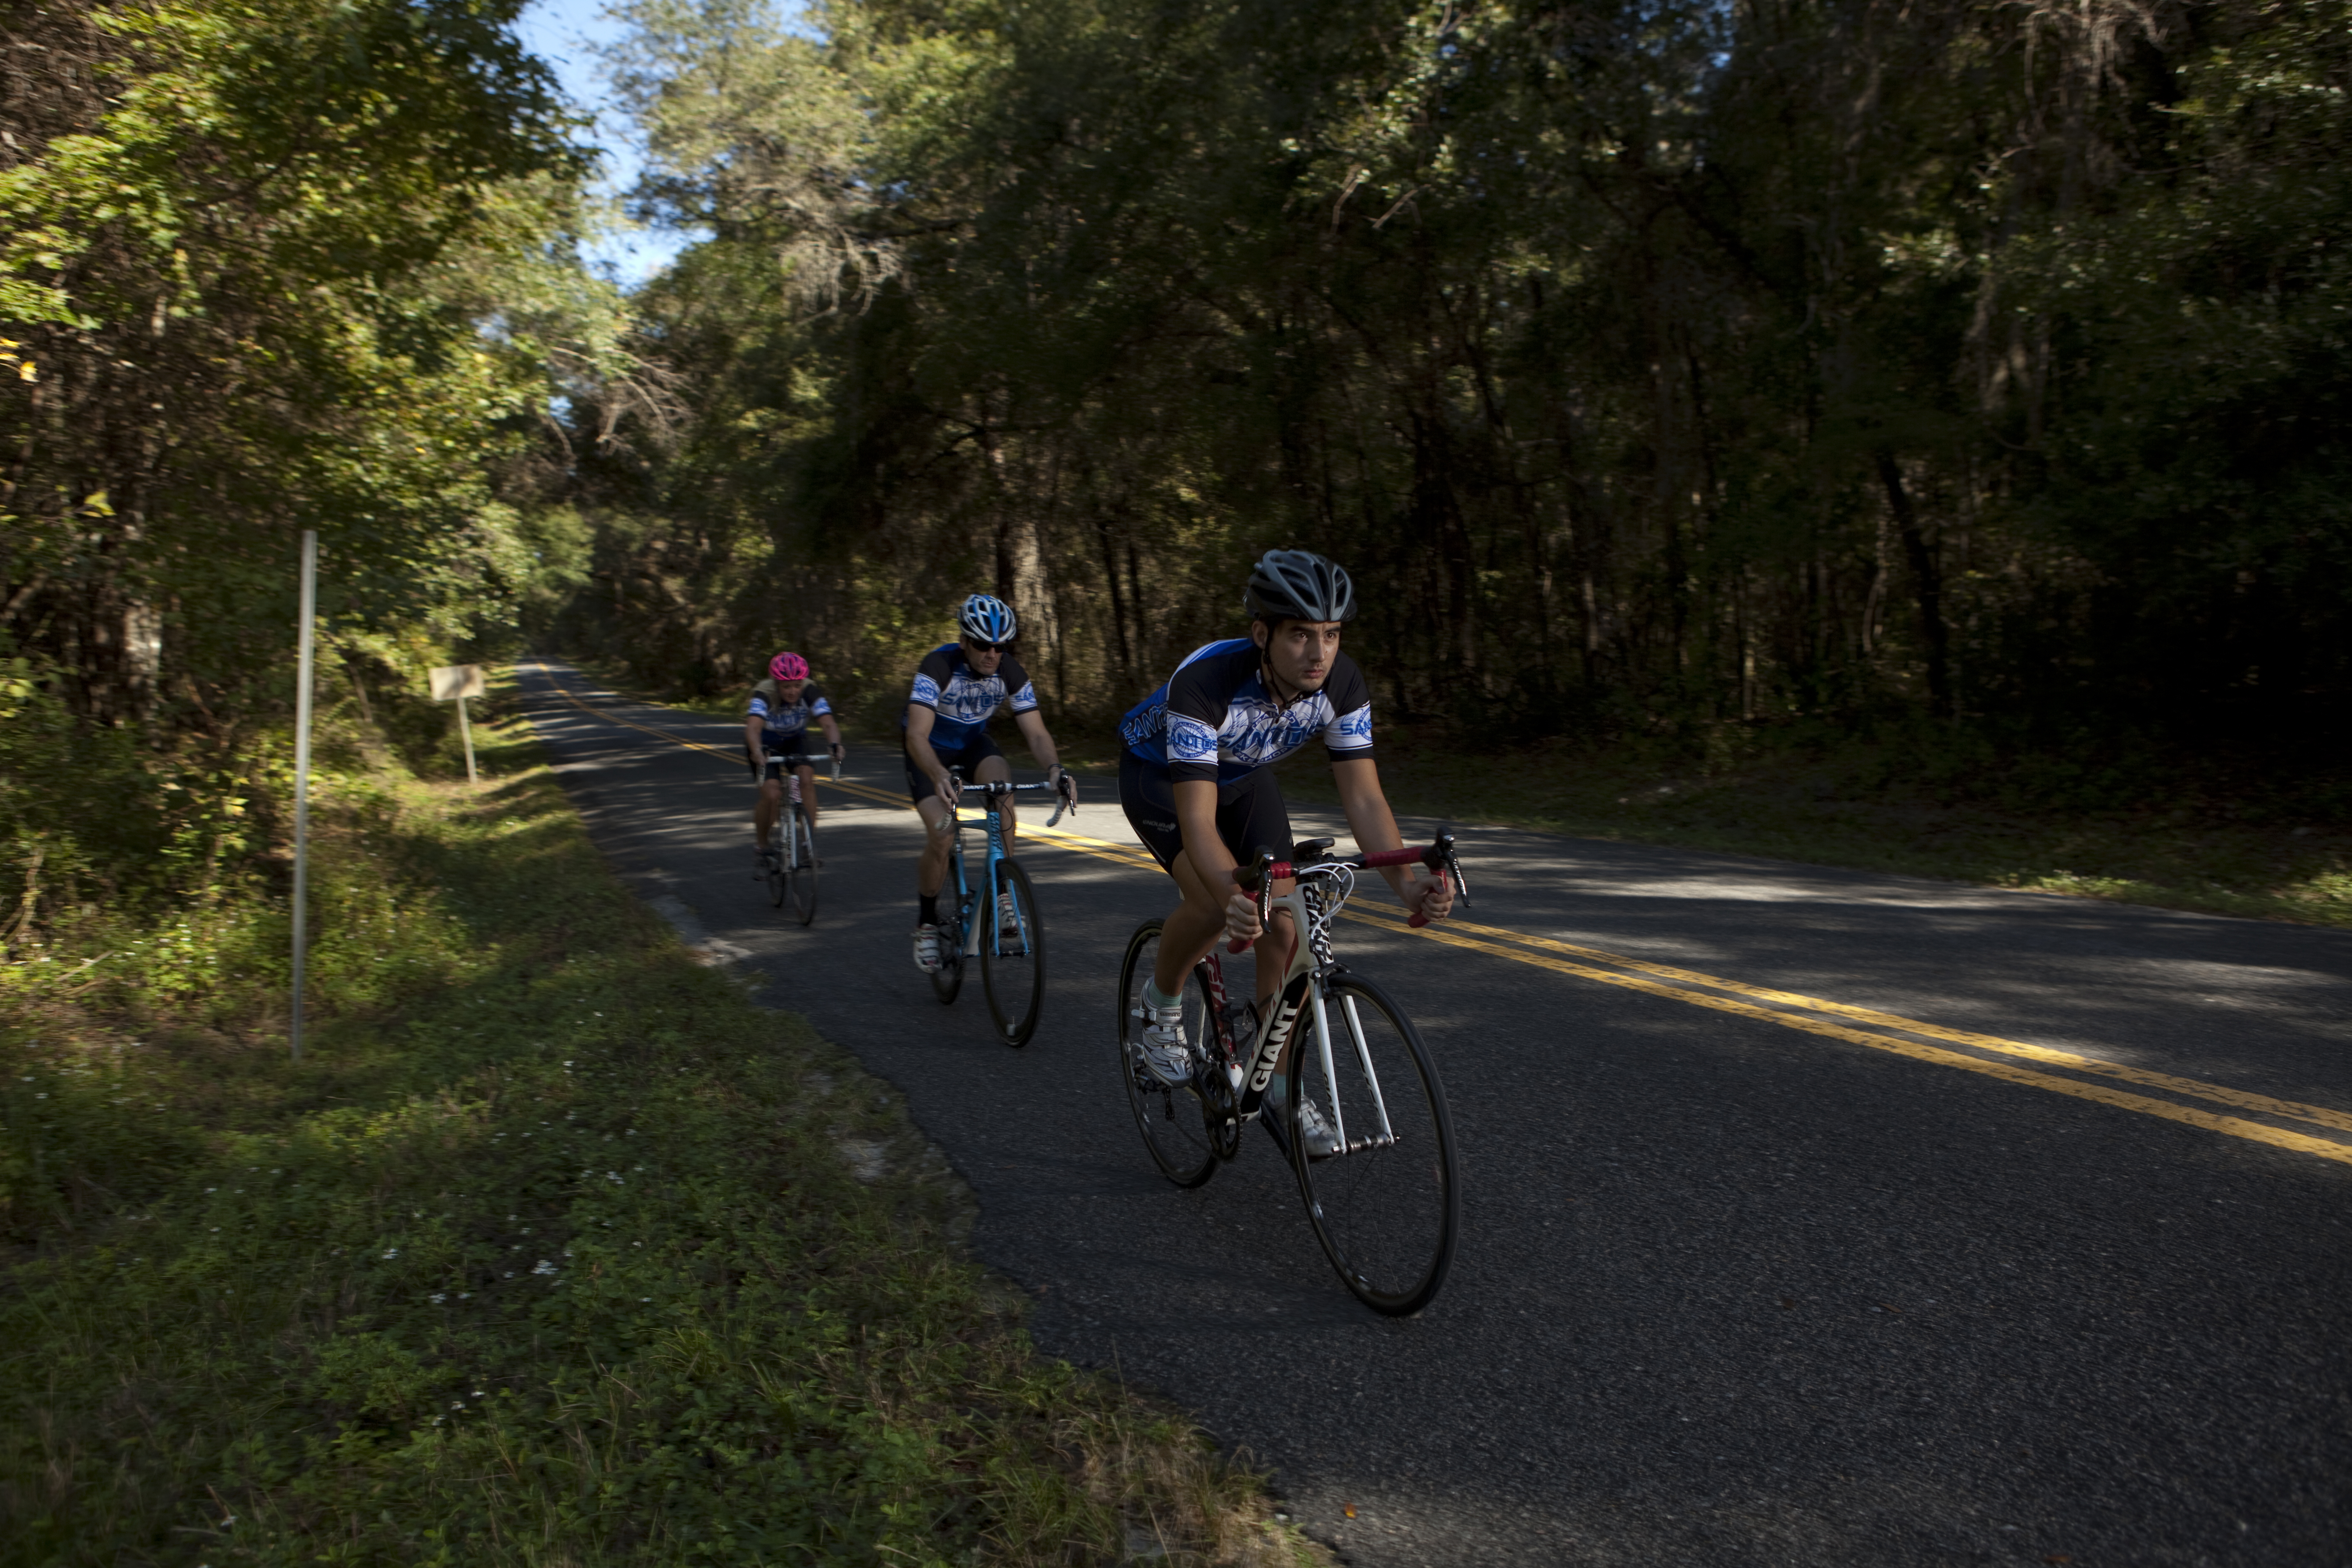
Getting the Right Gear
The last thing you want for your first biking trip is to realize you left behind something essential two to three hours into your ride. During your ride, you will want to wear something comfortable that also keeps sweat away from your body, however keep in mind that your outerwear will change depending on the outside temperature. For example, when it’s a chilly 30 to 40 degrees, it is best to start with a thermal layer and vest and remove layers as necessary as your body inevitably warms up, but for warm days you’ll opt for lightweight options and extra sunscreen. Wearing the correct shoes will make a world of difference during your trip too, so make sure they are broken in and ready to last for the long haul ahead. There are multiple elements to take into consideration when investing in the perfect pair of cycling shoes, such as the fastening mechanism, soles, cleat style, and of course, the proper fit. No two feet are the same — some are wide, some are narrow — so no two cycling shoes will be the same either. If all the different options are overwhelming, visit your local bike shop or athletic store for assistance.
Subjecting yourself to the natural elements means that you have very little control over what might happen, so you need to be prepared for a wide variety of conditions. Bring along a rain jacket in case the weather turns sour, and be aware of the weather forecast to know how warmly to dress and what to expect. If you plan on stopping overnight to rest while biking, you will want to pack sleeping gear and a change of clothes. The goal is to pack as lightly as possible to spare your body from carrying more weight than it needs. Try to cut back on what you bring by investing in camping multi-tools and plates and bottles that are easily washable. Finally, you will want to pack a toolkit and extra mechanical supplies for your bike such as a patch kit, pump, multi-tool, pump, and the ever trustworthy duct tape just in case something breaks mid-ride. Bringing the right tools for your trip is only effective if you read up on how they work.
Before You Leave
Of course, just like any time you leave your home for a vacation, you will not want to advertise your absence on social media. Lock your doors and windows and draw your blinds down so peeking eyes can’t see no one is home inside. Have friends or family check up on your home, bring in mail, and perhaps keep your lawn tidied up. Taking these steps will ward off potential wrongdoers from taking advantage of you while you’re on your biking trip.
Lastly, you want to prepare yourself for having the time of your life. Taking on your long-distance bike ride can be a grueling experience. Your muscles will ache, your body will sweat, and you will feel absolutely exhausted halfway through. But once, you get out there and experience the outdoors from the vantage point of your bike seat, you will want to come back and do it again and again. Nothing will feel as challenging or rewarding as long-distance biking.
Jason Lewis writes for StrongWell and enjoys creating fitness programs that cater to the needs of people over 65.
Photo Credit: Pixabay